

Motorcycle, Motorcycle Riding Gear, Motorcycle Service
Get Motorcycle Ready for Spring: Spring Riding Checklist

Mar
The temps are climbing, the roads are drying out, and that itch to ride is back. Before you throw a leg over the bike and head out for the first time this season, it’s worth taking 30–45 minutes to give your machine a proper once-over.
Bikes that sat through the winter — even stored properly — can develop small issues that turn into big problems on the road. This checklist walks you through the key areas to inspect before your first spring ride. It’s not complicated, and most of it you can do yourself in the driveway.
If you run through this and something doesn’t feel right, the service team here at Richmond Honda House is ready for spring — bring it in and we’ll get you sorted.
1. Check Your Battery
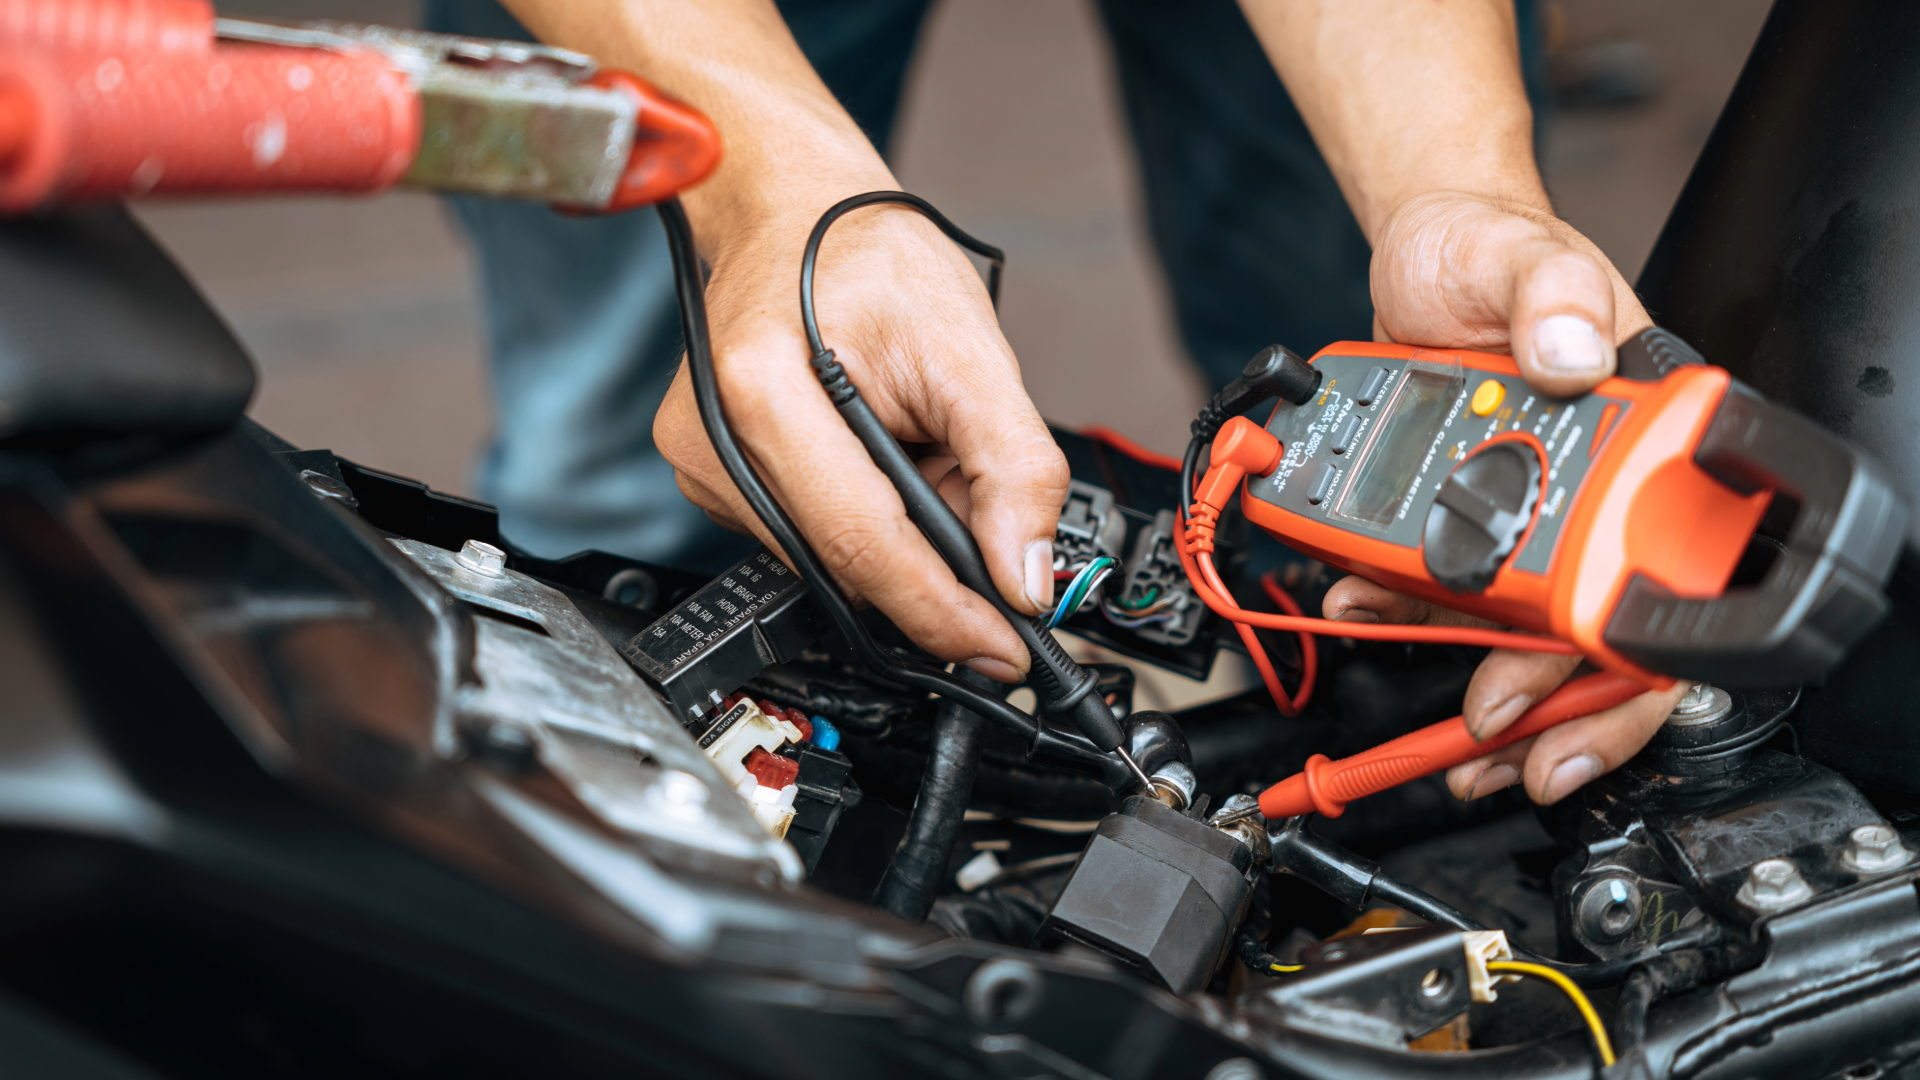
This is the most common reason bikes won’t start after sitting. If you didn’t put it on a trickle charger over winter, test the battery before anything else. A fully charged 12V motorcycle battery should read around 12.6–12.8 volts at rest. Anything below 12.0 is struggling.
- Test voltage with a multimeter — 12.6V or higher is healthy
- If it’s low, try a slow charge first before assuming it’s dead
- Check terminals for corrosion — clean with a wire brush if needed
- Terminals should be tight and secure
- If the battery is 3+ years old and holding a charge poorly, it’s time to replace it
Pro tip: Richmond Honda House carries replacement batteries for most Honda and Yamaha models. Stop by the parts counter and John or Paul can help you find the right fit.
2. Inspect Your Tires
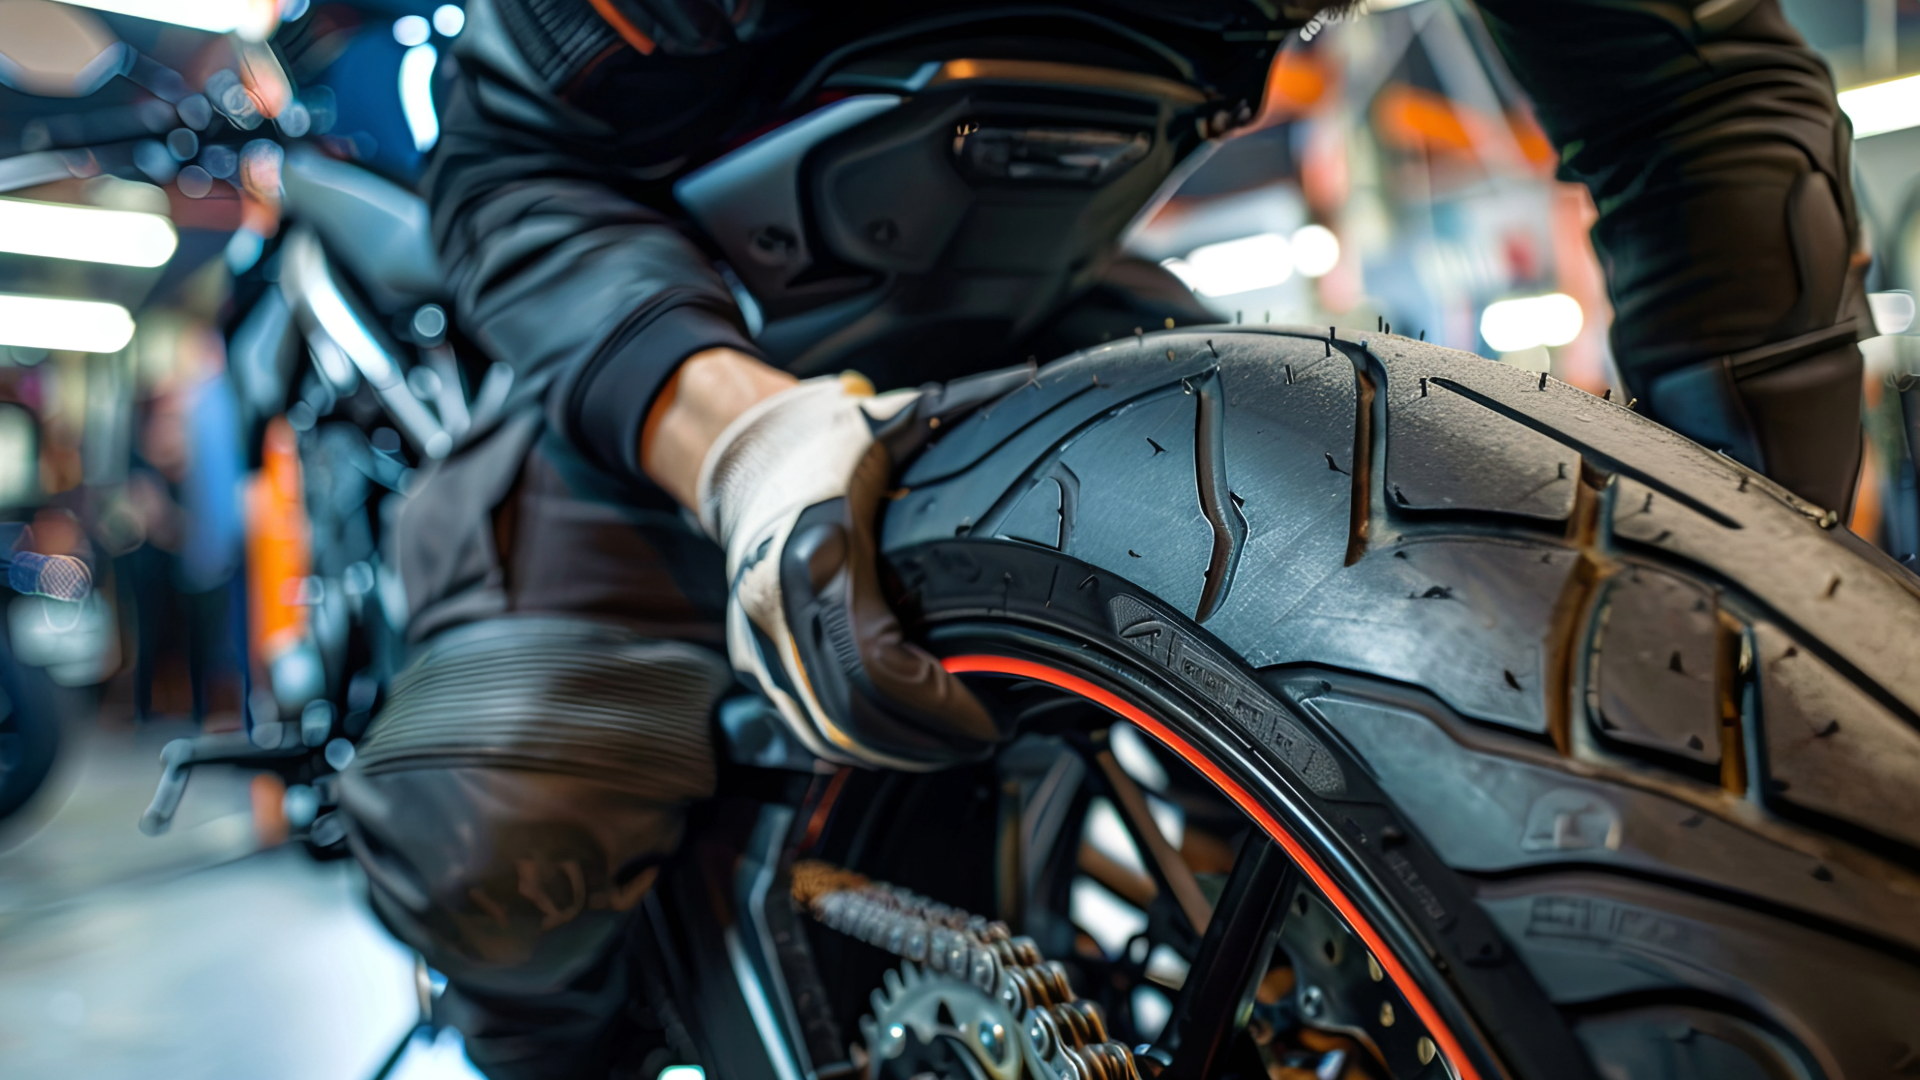
Tires lose pressure over winter even when not in use — typically 1–2 PSI per month. Riding on low or uneven pressure affects handling, fuel economy, and braking. Take the time to check both tires carefully against established tire safety guidelines.
- Check tire pressure cold (before riding) and inflate to manufacturer spec — found in your owner’s manual or on the swing arm sticker
- Inspect tread depth — if tread indicators are visible or you’re below 2/32″, it’s time to replace
- Look for cracks, dry rot, or flat spots from sitting — these may not be obvious at a glance
- Check sidewalls for bulging or damage
- Inspect the wheel for cracks or bent rims, especially if the bike fell over in storage
3. Check All Your Fluids

Fluids degrade over time, and some can absorb moisture during storage — especially brake fluid. A quick fluid check takes five minutes and can save you from a nasty surprise on the road.
- Engine oil: Check level and color. Dark, gritty oil needs to be changed before you ride. If you didn’t do an oil change before storage, do one now.
- Coolant (if liquid-cooled): Check level in the reservoir and look for any leaks around hoses and connections.
- Brake fluid: Should be clear to slightly yellow. If it looks dark or murky, it’s past due. Also check the reservoir level.
- Clutch fluid (if hydraulic): Same check as brake fluid.
- Fuel: If the bike sat without stabilizer and the tank isn’t full, old fuel can varnish the carb or injectors. A fuel system cleaner additive can help — or drain and refill with fresh gas.
4. Test Your Brakes
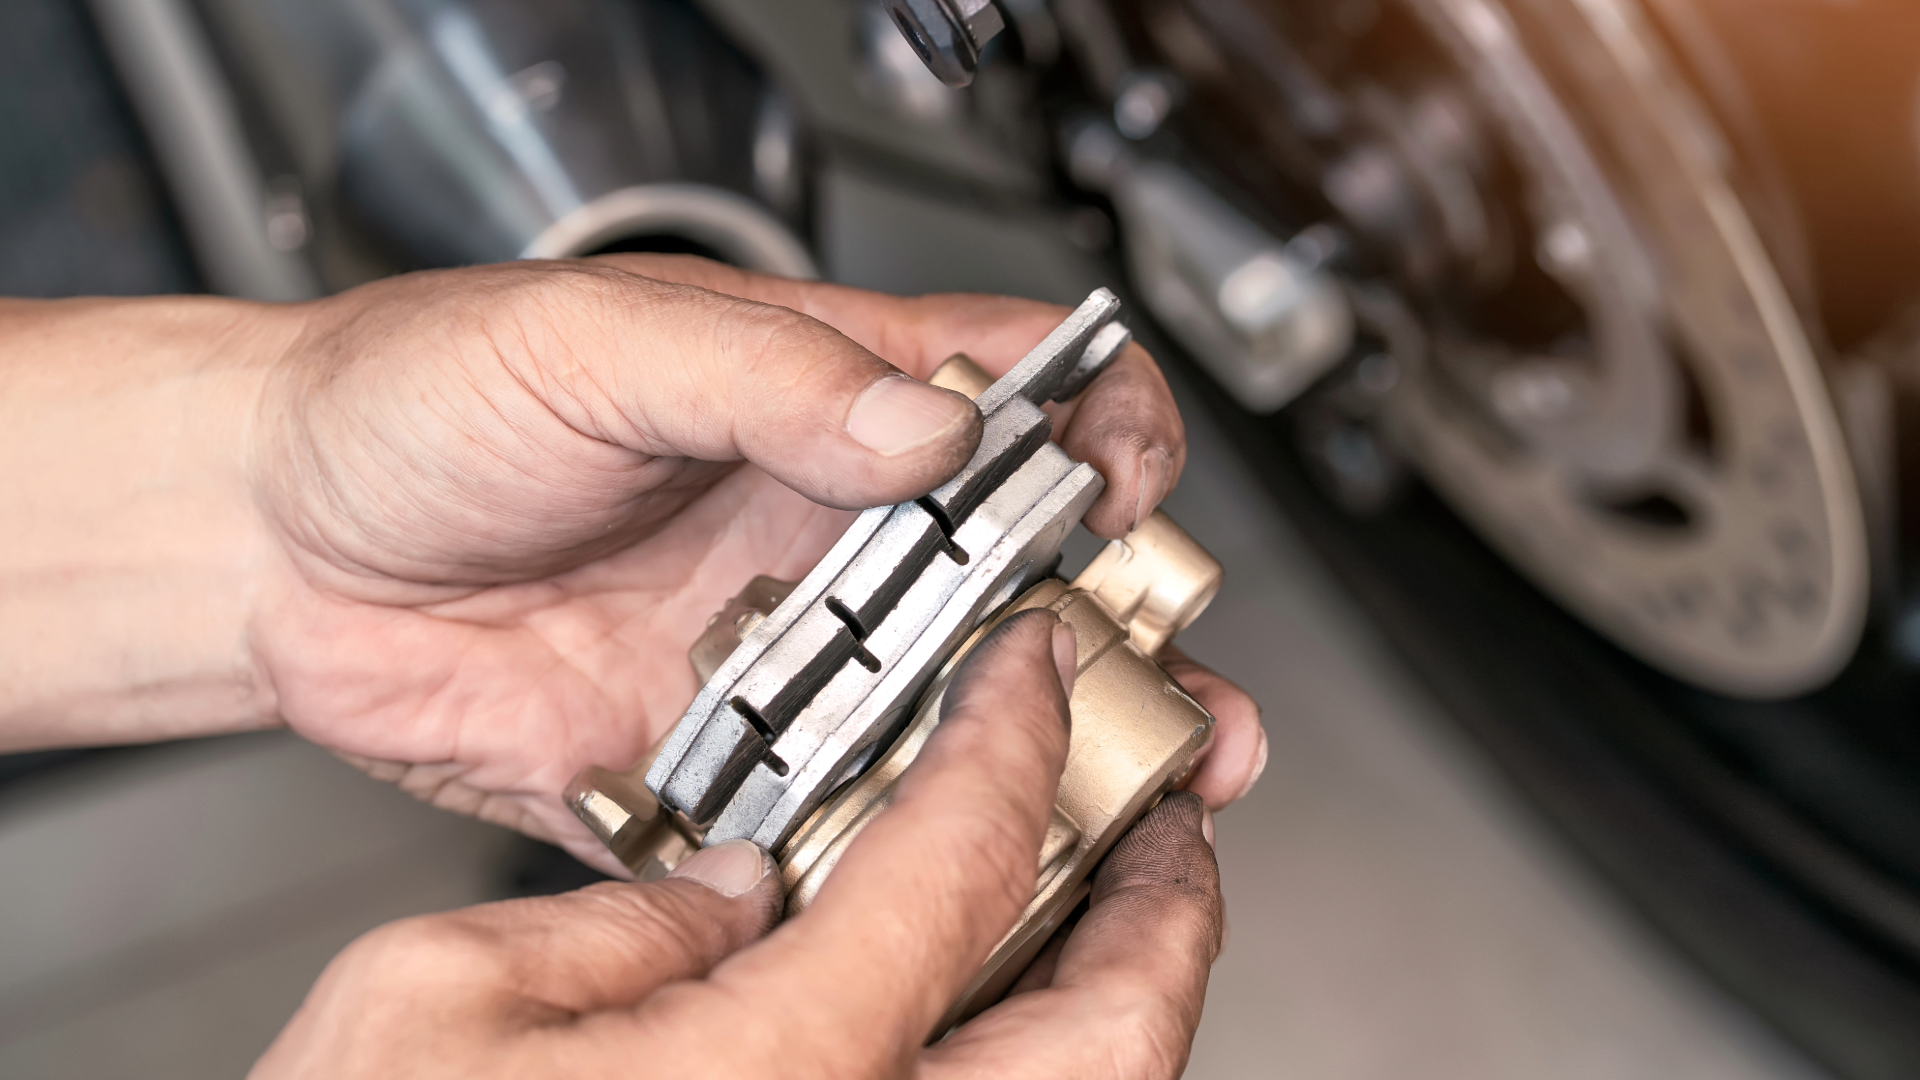
Brake pads and rotors can develop surface rust after sitting — usually a thin layer that clears up after a slow roll in the driveway. But it’s worth a close look before you trust them at speed.
- Visually inspect brake pads — minimum 2mm of pad material remaining
- Check rotors for heavy rust, warping, or deep grooves
- Squeeze both brake levers and press both pedals — they should feel firm, not spongy
- If either lever feels soft or goes to the bar, you likely have air in the line — bleed the brakes before riding
- Check brake lines for cracking, fraying, or any signs of leakage
5. Inspect Controls, Cables & Chain
Cables can stretch, fray, or stiffen over winter. A sticky throttle or a dragging clutch isn’t just annoying — it’s dangerous. Go through each control before you ride.
- Throttle: Should snap back smoothly and fully when released — no sticking
- Clutch lever: Check free play (typically 2–3mm at the lever tip) and cable condition
- Brake levers and pedals: Confirm smooth, consistent feel
- Chain: Clean, lubricate, and check tension. A dry or tight chain is a quick way to lose efficiency or damage your sprockets.
- Sprockets: Look for hooked or worn teeth — replace chain and sprockets together if worn
- Handlebars and mirrors: Confirm everything is tight and properly aligned
6. Check All Lights and Electrics
Lights are easy to check and easy to overlook. Run through the full electrical system before your first ride.
- Headlight: High beam and low beam both working
- Tail light and brake light: Test both hand and foot brake activation
- Turn signals: All four, front and rear
- Instrument cluster: Confirm all warning lights function at startup and clear normally
- Horn: Give it a honk — you’d be surprised how often these fail silently
7. Don't Forget Your Gear

Your bike’s not the only thing that needs a spring inspection. Your riding gear takes a hit every season too — and worn-out gear doesn’t protect you the way it should.
- Helmet: Check for any cracks, impact damage, or worn liner. If your helmet took a hit — even a drop — it should be replaced.
- Jacket and gloves: Check for wear, broken zippers, or damage to armor pockets
- Boots: Look for worn soles or broken closures
- If anything is looking rough after a full season, spring is the right time to replace it before you’re back in the saddle
Not Sure What You're Looking At? Bring It In.
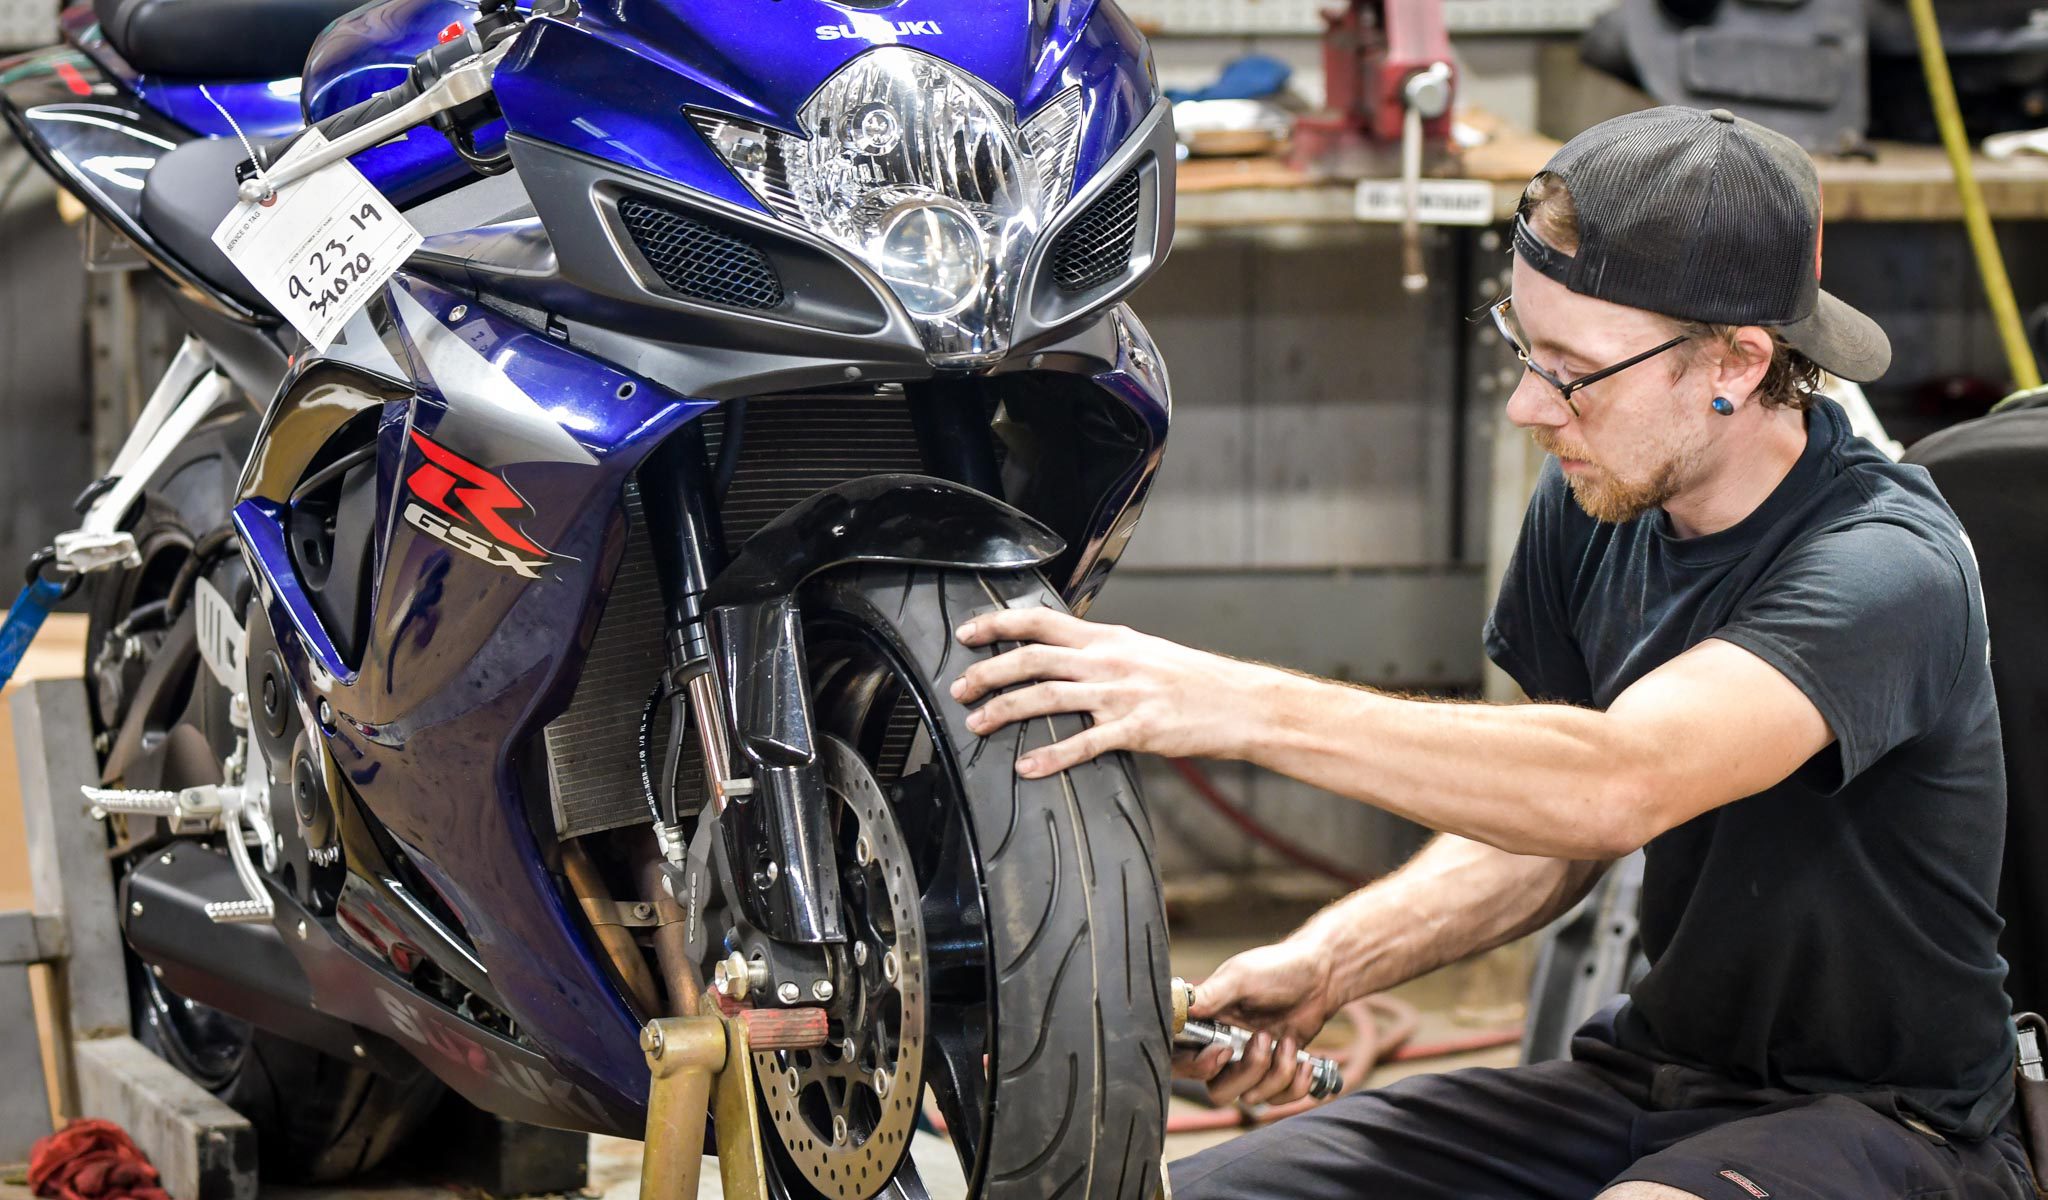
Not everyone is wrenching in their garage on a Saturday morning — and that’s perfectly fine. That’s what we’re here for.
The service team at Richmond Honda House handles pre-season inspections, oil changes, brake bleeds, chain services, and anything else your bike needs to be road-ready. If you run through this checklist and something doesn’t look right — or if you just want a professional set of eyes on it — schedule a service appointment and we’ll take it from there.
And if you’ve been thinking about a new bike for the season, now’s the time to come look. We have Honda and Yamaha inventory in stock — from street bikes to UTVs — and our sales team is here to walk you through your options without any pressure.
Richmond Honda House is located at 7906 W. Broad St., Richmond, VA. Give us a call at (804) 270-0123 or stop by — we’re open six days a week.
Quick Reference: Spring Riding Checklist
Print this out or save it to your phone — run through it before your first ride of the season.
| Battery | |
| □ | Battery voltage tested (12.6V+) |
| □ | Terminals clean and tight |
| □ | Battery 3+ years old? Consider replacing |
| Tires | |
| □ | Pressure checked and inflated to spec |
| □ | Tread depth acceptable (no wear indicators showing) |
| □ | No cracks, dry rot, or sidewall damage |
| Fluids | |
| □ | Engine oil — level & color checked; change if dark |
| □ | Coolant level checked |
| □ | Brake fluid — clear and at proper level |
| □ | Fresh fuel or stabilizer added |
| Brakes | |
| □ | Pad thickness checked (2mm+ remaining) |
| □ | Levers feel firm, no sponginess |
| □ | Brake lines intact, no leaks |
| Controls & Chain | |
| □ | Throttle snaps back cleanly |
| □ | Clutch cable free play adjusted |
| □ | Chain cleaned, lubed, tension checked |
| Lights | |
| □ | Headlight (high + low) |
| □ | Brake light and tail light |
| □ | Turn signals — all four |
| □ | Horn |
| Gear | |
| □ | Helmet inspected — no cracks or impact damage |
| □ | Jacket, gloves, and boots in good condition |